4-Mallet Keyboard Exercise: Double Lateral Chromatic Pattern

Click on the image to enlarge or click here to download in PDF format.

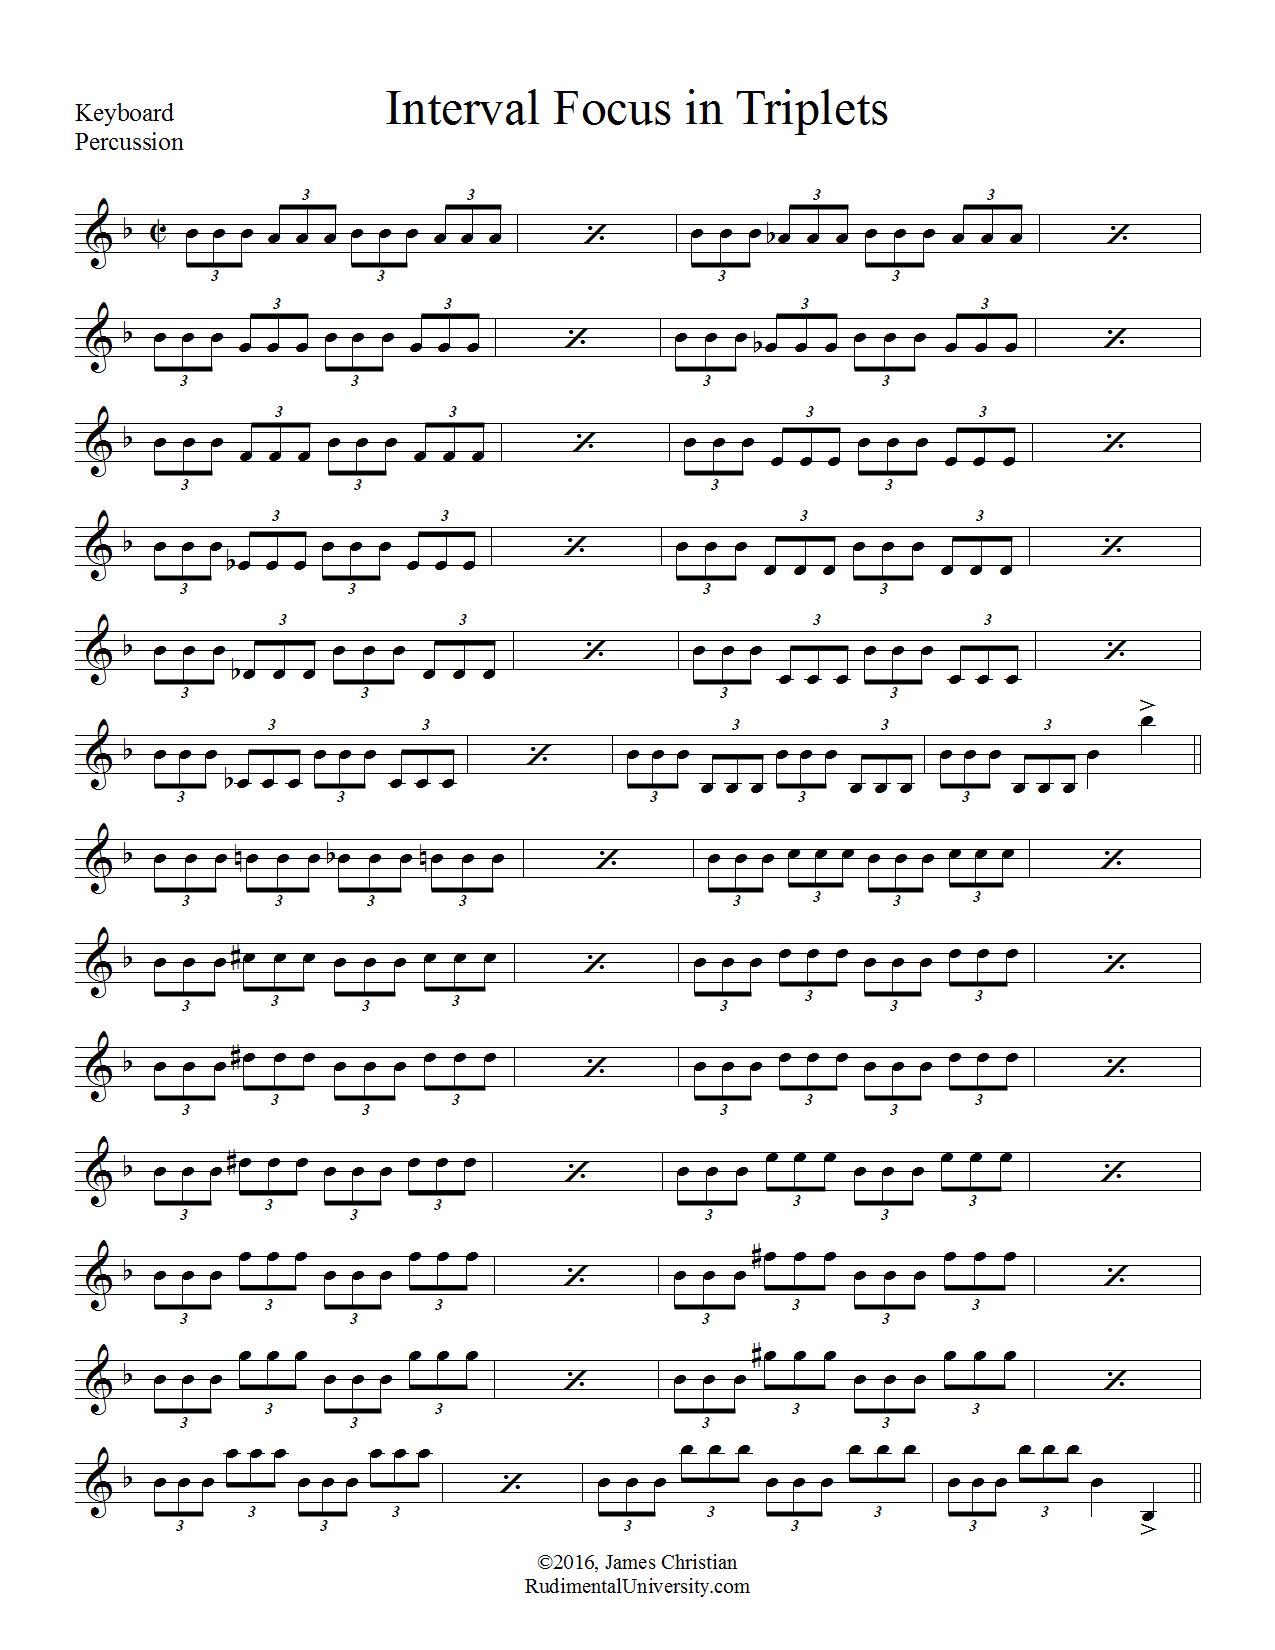
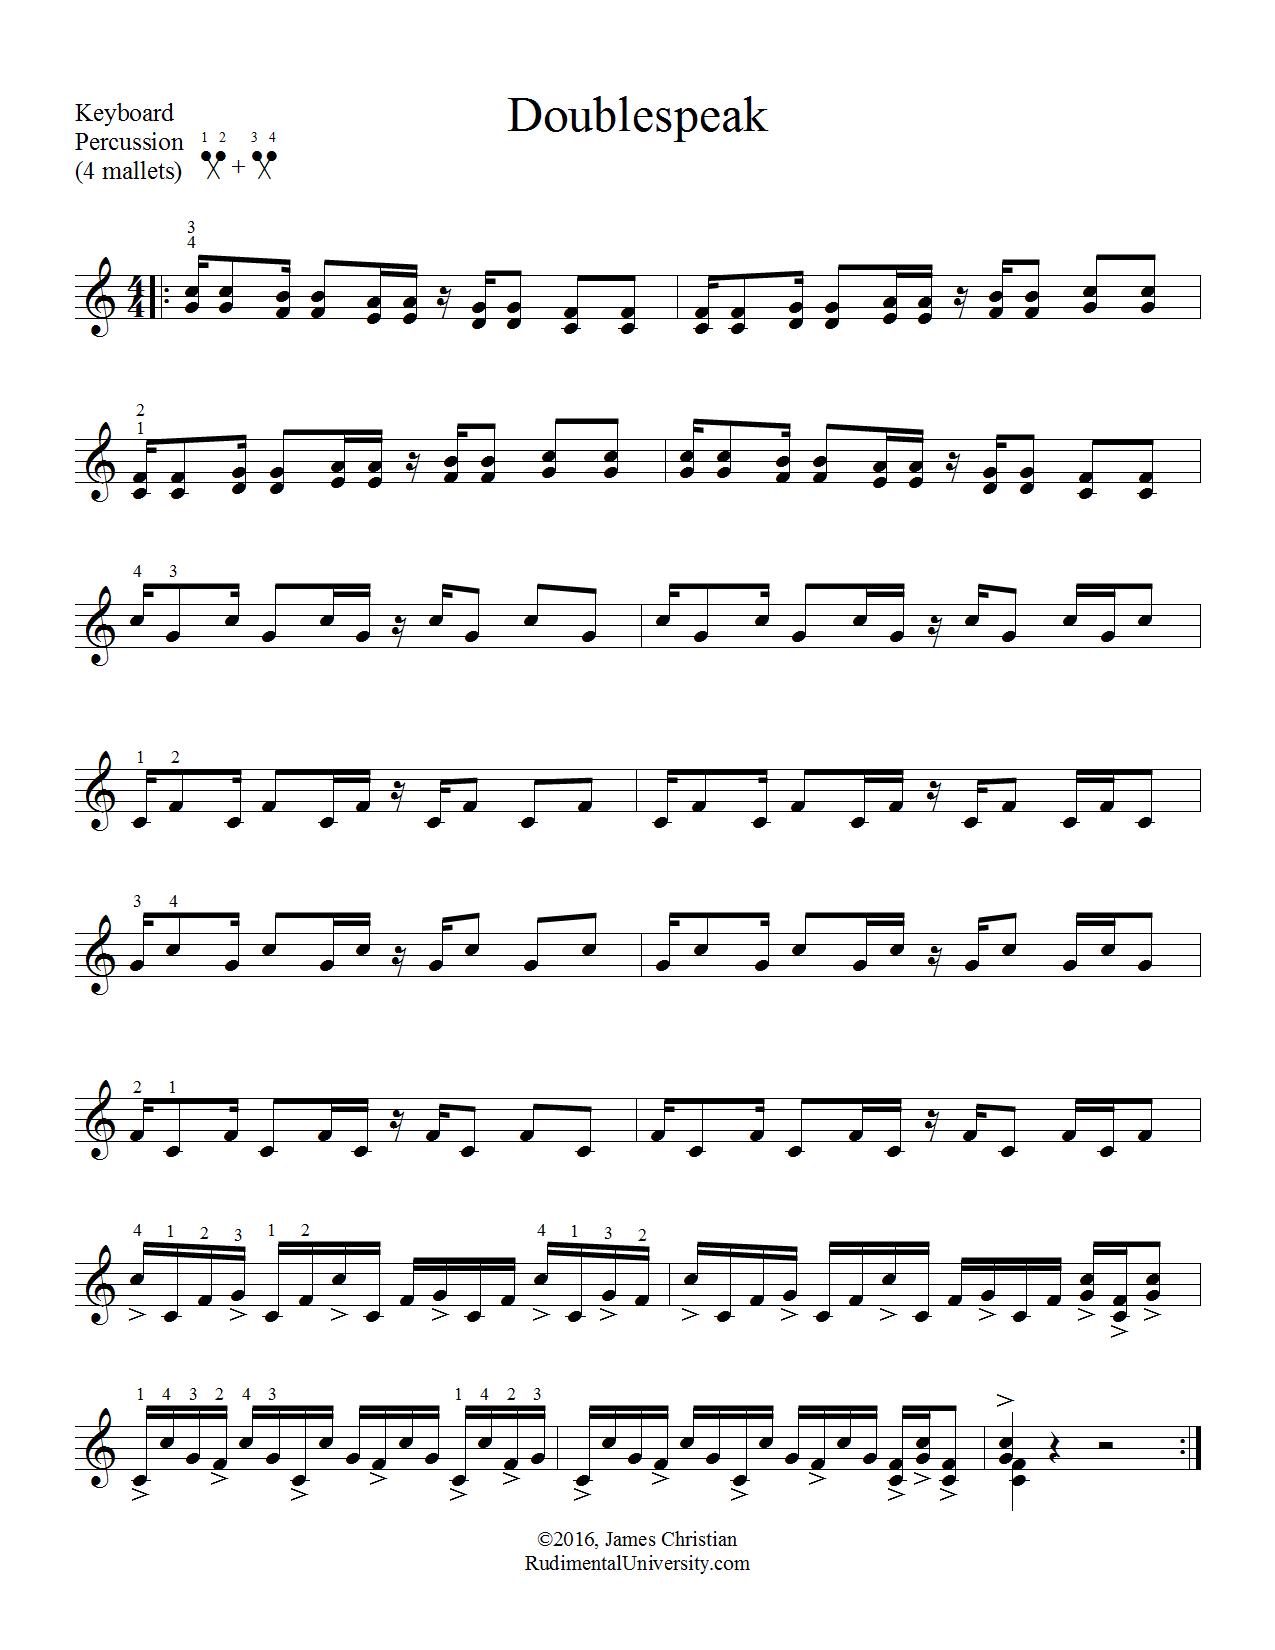
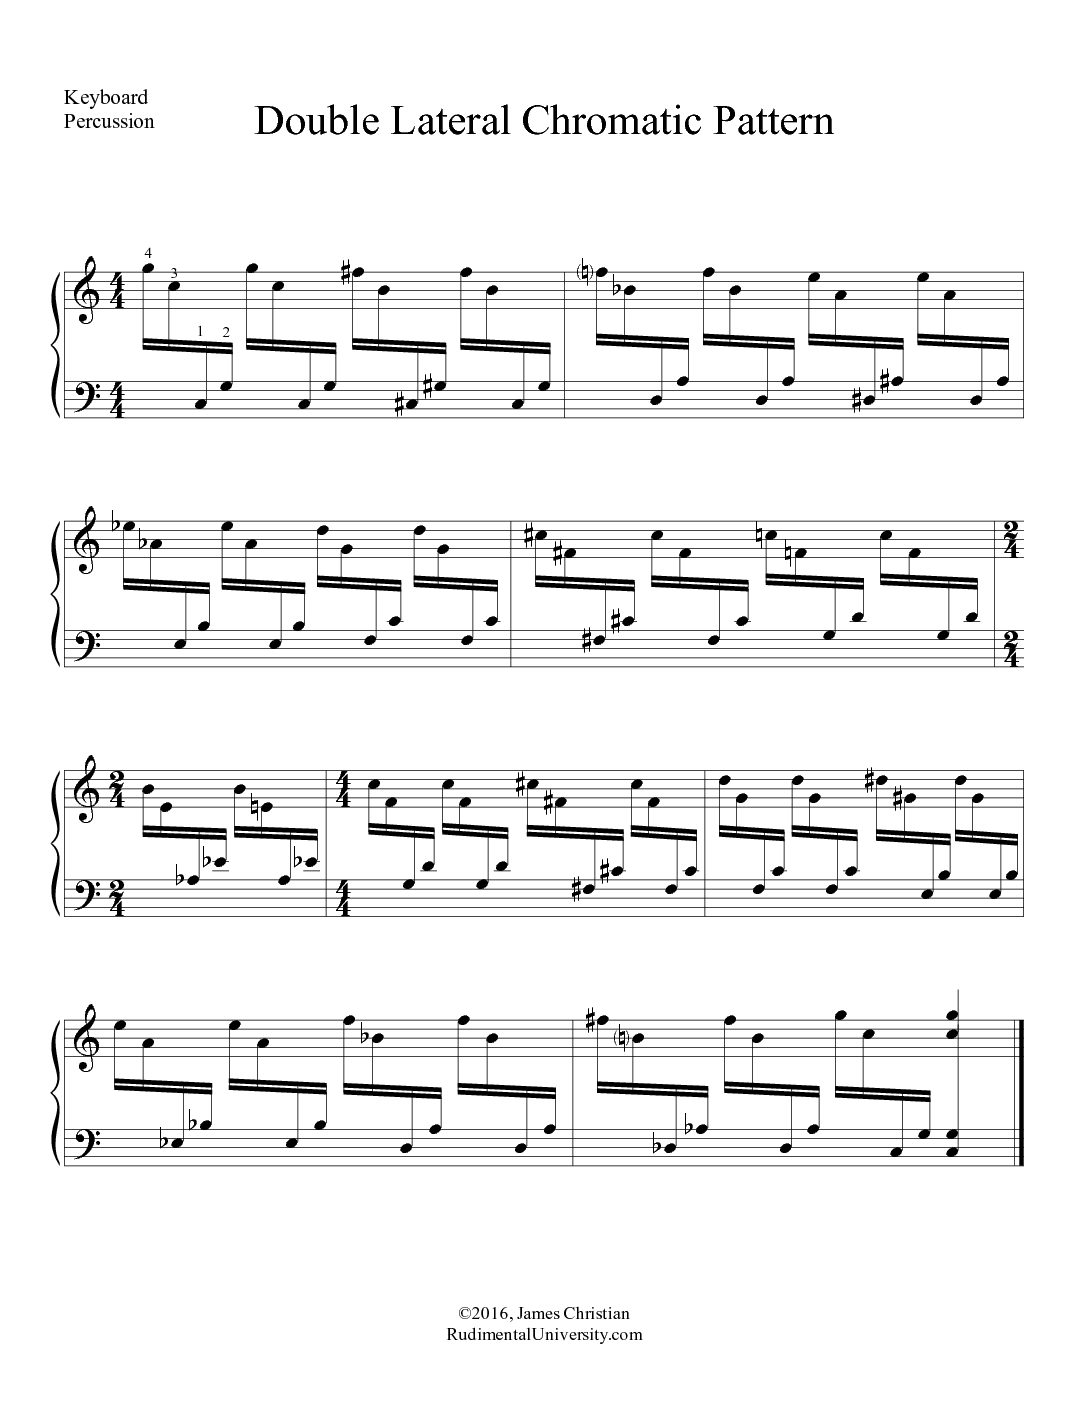
I live near the Dallas/Ft. Worth metroplex in Texas.  One of the most popular drum line contests in this area is the Plano Drum Line Competition, which is held every year in September.  In addition to offering the opportunity for dozens of drum lines to compete, Plano’s contest also features an individual & ensemble competition.  For each instrument, there is a “compulsory” that is to be performed before the contestant’s solo.  For snares and tenors, they must open and close a flam drag.  For timpani, they must perform “My Country, ‘Tis of Thee” on a maximum of three drums.  For four-mallet keyboard percussion, they are required to play the above double lateral exercise.

When I first saw this exercise, I really liked it.  I wondered how the contest hosts had decided to use it.  Well, this past year, I decided to start working through every exercise in Leigh Howard Stevens’ classic Method of Movement for Marimba.  (Of course, I had played from various sections before, but never in such a focused and goal-oriented way.  This time I was determined to play through the entire book.)  Lo and behold, this exercise is in the book’s section on double laterals.

I offer this bit of personal background info just to let you know why this exercise has stuck with me.  I’m glad it has.  It really is a great exercise for working double laterals across the keyboard.  I recommend starting it slowly until you feel confident in each position.  It is probably easiest to memorize the pattern.  Focus on striking the bars on the proper beating spots.  Also take care that each note resonates at an equal volume.  Don’t drop the second note of each lateral!

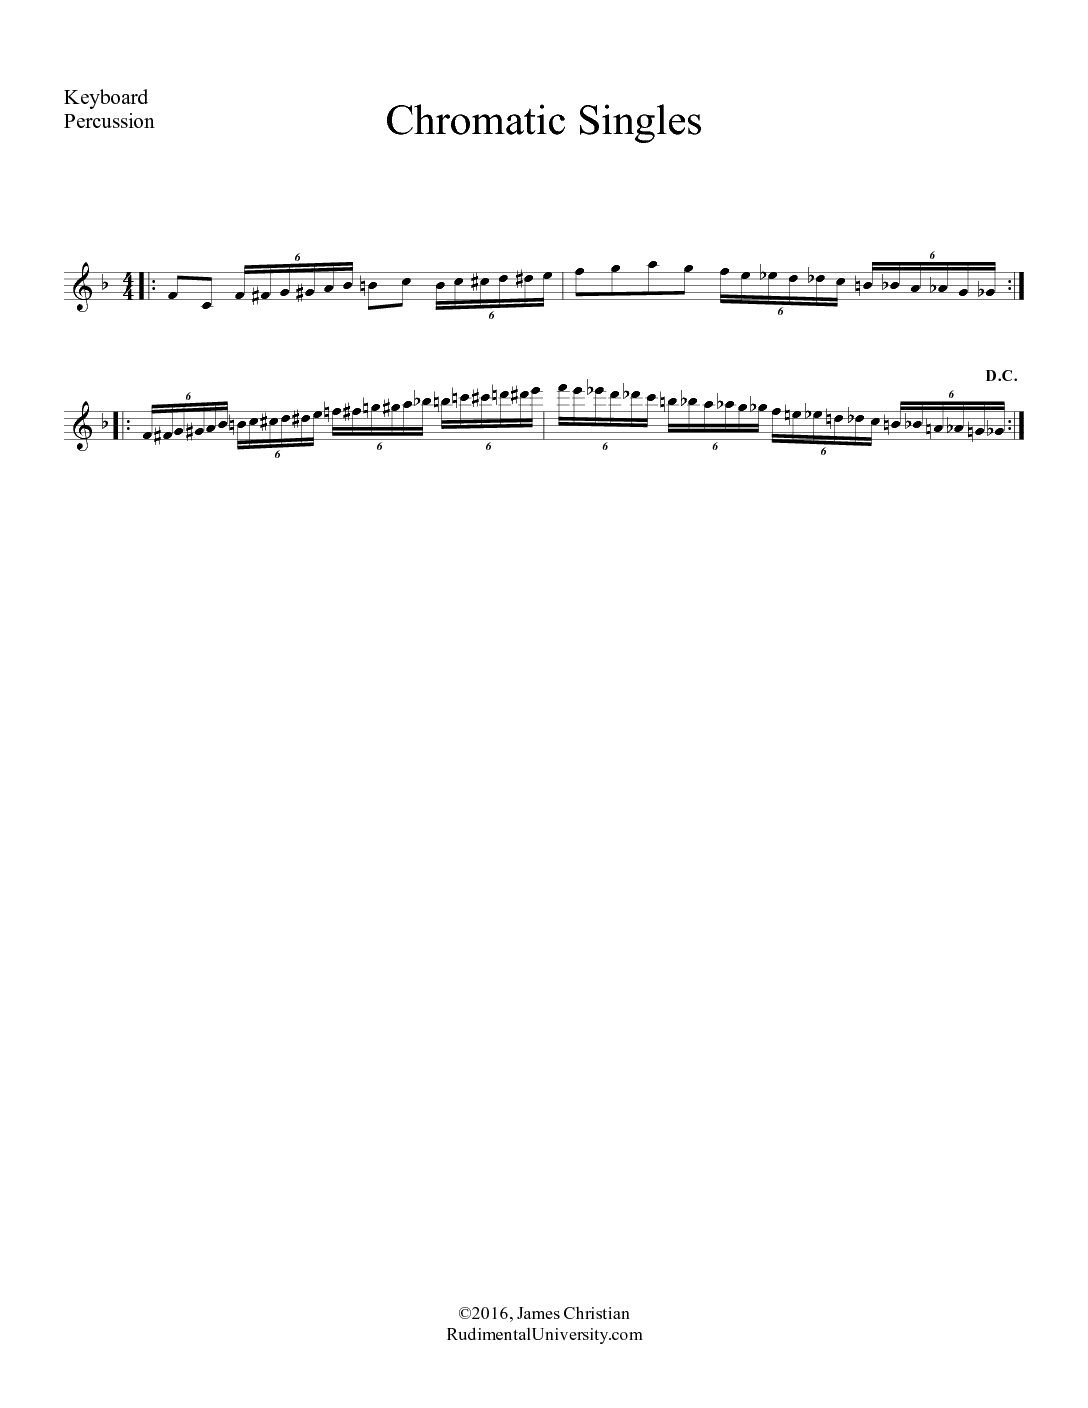
This exercise is obviously written for marimba, but it can also be played on xylophone and vibraphone.  For xylophone, simply play the exercise an octave higher.  For vibraphone, transpose the exercise up a minor seventh.  That is, take it up an octave, and then take it down a whole step, so that your first four notes are F, B-flat, B-flat, F.

2-Mallet Keyboard Exercise: Interval Focus in Triplets

Click on the images to enlarge…
… or click here to download in PDF format.

This exercise is great for practicing short and wide interval leaps.  It is comprised of three parts:

  • Measures 1-24: The triplet pattern starts on a B-flat (check the key signature!), descends a half step, returns to B-flat, descends two half steps, returns to B-flat, descends three half steps, etc.  I would recommend starting this section on the right hand.

  • Measures 25-48:  This section follows the same pattern as the previous section, except the intervals move ascending instead of descending.  I would recommend starting this section on the left hand.

  • Measures 49-74: Finally, this section also starts on a B-flat, but the intervals both ascend and descend at the same time, ultimately spanning two octaves.  I would recommend starting this section on the right hand.

Due to the wide interval, the final two measures are the most difficult to play quickly.  I recommend seeing how fast you can play these two measures first.  That is your tempo for the entire exercise.  While this exercise is good practice for various intervals, another challenge is to maintain a steady tempo.  Most people will want to start too quickly and be unable to maintain that tempo throughout the entire exercise. Don’t let that be you!

Two Exercises for Any Percussion Instrument: 8th Note Timing

Click on the image to enlarge or click here to download in PDF format.

These two timing exercises are quite helpful for all percussionists, regardless of your specific area of specialty.  They seem simple at first, but they really great exercises for getting an ensemble to internalize the pulse together.  They are also useful exercises for individual practice (with a metronome, of course!).  They will help you realize how accurate or inaccurate your internal beat subdivisions are.  This becomes especially evident at extremely slow and extremely fast tempos.

I should state upfront that I did not write these two exercises, but I like them, and I wanted to share them here.  I helped teach at a high school drum line camp a couple of years ago, and Luke Holt was the front ensemble technician.  He brought out these exercises during the full drum line rehearsal (I’m not sure if they were original with him, but they’re worth passing along).  With all of the space created by the rests, it was a challenge for the entire group to play every note perfectly together.

I have since used these exercises at times to help my percussion group in the same way.  They are particularly good for bass lines, since each individual player often has isolated rhythms like this.

For individual practice, I highly recommend using a metronome with the eighth note subdivision turned on.  You will probably be surprised how easily you tend to rush or drag certain notes in the measure.  I would recommend practicing these exercises every so often at slow tempos (about 40-60 bpm or slower) and fast tempos (160 bpm or faster).  If you can play these two exercises perfectly along the entire tempo spectrum, you can be pretty confident in your sense of eighth note pulse.

2-Mallet Keyboard Exercise: Chromatic Singles

Click on the image to enlarge or click here to download in PDF format.

Chromatic scales are an essential skill to master for any keyboardist.  Within an octave range, there are 12 notes.  This makes sextuplets work nicely for building chromatic speed (6 + 6 = 12).  In this particular exercise, your two “target” notes are F-natural and B-natural.  Every sextuplet run begins on one of these two notes.  If you can visualize these two aiming spots, your accuracy will greatly increase.

When first starting, practice slowly and ensure that you are striking the correct notes.  As you gain more confidence in your accuracy, gradually begin to push the tempo.  Once you get to the exercise up to a bright tempo, you may want to repeat the last two measures additional times for added endurance.

For the extra motivated, you can transpose the exercise and learn it in all 12 keys.

4-Mallet Keyboard Exercise: Doublespeak

4-mallet-0001-doublespeakClick on the image to enlarge or click here to download in PDF format.


This is a fun exercise for keyboard percussion that focuses on the “doubles rudiments” of four-mallet playing.  I regularly use it with the high school where I teach.  During marching season, our front ensemble uses it to work on double vertical strokes (measures 1-4) and double lateral strokes (measures 5-end).

Additional stroke types are used for transitions—single alternating strokes (ex: measure 5, beat 4) and triple lateral strokes (ex: measure 6, beat 4).  These short occurrences frequently happen in actual musical situations, so it’s good practice for being able to switch quickly between stroke types.

Take care to achieve a full sound on every note.  The double verticals should strike exactly together, and the double laterals should have a clear, consistent sound.  Make a clear difference between the accented and non-accented notes at the end.  Do not get sloppy on the non-accented notes.  Keep the continuous 16th notes precisely in time.

When you can play this entire exercise with great consistency of sound, you will have a pretty solid grasp of the fundamental “doubles” strokes of four-mallet keyboard percussion.  Enjoy!

2-Mallet Keyboard Exercise: Ragtime 3 over 2

2-mallet-0002-ragtime-3-over-2
Click on the image to enlarge or click here to download in PDF format.

Originally written for xylophone, this fun little exercise comes from George Hamilton Green’s Advanced Instructor for Xylophone. This book is not as well-known as his more famous Instruction Course for Xylophone, but it is still quite good.  (Both books are excellent and highly recommended.)

This particular exercise focuses on double stops (both hands playing at the same time), and the harmonic and rhythmic structure come from ragtime xylophone playing.  The challenge of this exercise is to play a repeating two-note pattern with the left hand while playing a three-note pattern with the right hand.  On the final two beats of measures 2 and 4, the right hand plays a four-note pattern that closely matches the movements of the left hand.  The difficulty comes in transitioning back to the three-note pattern in measure 3 (and measure 1 on the repeat).

On the surface, the exercise looks simple, but it can provide an interesting coordinative challenge.  Once you get it down, it’s really fun to play.  As George Hamilton Green would advise, make sure you take it slowly at first.  Keep your mallets close to the keyboard, make sure they both strike at exactly the same time, and make sure you are 100% accurate in all of your notes.

Check out the Sound of the Lithophone!

I teach at Paris High School in Paris, Texas.  This past year, we added a lithophone to our keyboard percussion section.  Sometimes called a stonophone, this unique instrument is handmade from slate, and it spans a 3-octave range.  There are only a few individual manufacturers online who make such instruments; it is a pretty unique niche.  Our lithophone was custom created by Jim Doble at Elemental Designs.  He did great work, and his prices are very reasonable.

This video is just a short improvisation to showcase the instrument’s range and timbre.  Since this video was recorded, we have had a frame and resonators added.  While the instrument has a very rich tone, it is somewhat quieter (and more fragile!) than a marimba or vibraphone.  You can’t strike it with the same velocity on the louder dynamic ranges.  When using it for concert performances, it works best to have it amplified.

We are primarily going to use it to substitute for bass marimba parts in percussion ensembles.  It’s about a tenth the cost of a 5.0-octave marimba, so it’s a very affordable option for schools and organizations on a tight budget.

The lower octave is not quite as resonant as the upper octaves.  We discovered that the instrument sounds really good when parts are played in octaves.  (This creates some interesting arrangement considerations, but the result has been well worth it.)  The higher octave helps to emphasize the fundamental pitch, and the lower octave brings out the rich, bassy tone underneath.

I decided to post this in order to showcase the great workmanship that can be found by custom instrument manufacturers.  There are a number of talented people who specialize in custom-made marimbas, xylophones, lithophones, and other instruments.  Also, I want to encourage percussion directors and band directors to think outside the box a bit when it comes to instrument purchases.  The mainstream manufacturers create some wonderful products, and they are certainly going to be the primary “go to” sources.  However, with a little creative thinking, you can also get some very colorful textures in your percussion section by exploring what’s out there.

For the extra adventurous, you might even want to have your students build their own instruments.  This could create a deeper sense of ownership among the whole section when they have put their own time into creating the instrument upon which they play.

How about you?  Have you had any experience with custom-made instruments?  Have you used other instruments not mentioned above?  Share your stories and thoughts in the comments section below.

2-Mallet Keyboard Exercise: Shifting Paradiddles

2-mallet-0001-shifting-pima-paradiddles-12-mallet-0001-shifting-pima-paradiddles-2Click on the images to enlarge or click here to download in PDF format.


Every week we endeavor to bring you fun and interesting exercises on different percussion instruments.  Some weeks we will have instrument-specific exercises that are intended more for individual practice.

This week, however, all of the exercises will be playable by all instruments at the same time.  These can serve as fun exercises to play with your drum line or a percussion friend on two (or three or four) different instruments.  Yesterday’s snare drum exercise focused on the single paradiddle and the three variations of shifting accents—which I call the inverted paradiddle, single mill, and alternating quad.

This exercise for two-mallet keyboard percussion uses the same sticking with ascending and descending scale patterns.  As an added challenge, it quickly cycles through all twelve major keys.  (Be careful on the final measure!)  Enjoy!


Check back tomorrow!  The remaining instruments to be featured this week will be: marching tenors, two-person bass drum splits, and timpani.

Welcome to Rudimental University!

Greetings!  My name is James Christian, and I am the founder of Rudimental University.  I am a percussionist, teacher, and author, and my specialty is rudimental drumming.  I am best known for being the seven-time DCA multi-tenor drum champion (2001-2007).  However, I do not consider myself as merely a “tenor drummer.”  I am a drummer and a percussionist, and I love every aspect of percussion.  I hope this site will provide valuable resources and inspiration for both percussionists and percussion instructors.

The site’s name, Rudimental University, has its origins in rudimental drumming, but I intentionally did not name it Rudimental Drumming University.  All percussion instruments have essential rudiments that must be learned, and they can all be taken to extremely advanced levels.  This site is a celebration of the rudiments of all percussion.  I chose to call it a “university,” because I want this to be a place of learning, sharing knowledge, and being exposed to new ideas.  I plan to bring along other percussionists who will offer different perspectives—including those who may disagree with me on certain issues.

I have big plans for Rudimental University, which I will reveal over the weeks, months, and years to come.  Go ahead and bookmark the site, and check back over time as new features are added.  I hope you will join me on a new percussion adventure!